
Why Maintenance Is Critical for Your Cement Block Machine
Operating a concrete block plant involves continuous high-pressure compaction, intense vibration cycles, and abrasive raw materials. Without a structured maintenance strategy, heavy wear and tear can rapidly degrade critical components, leading to operational failure and decreased product quality.
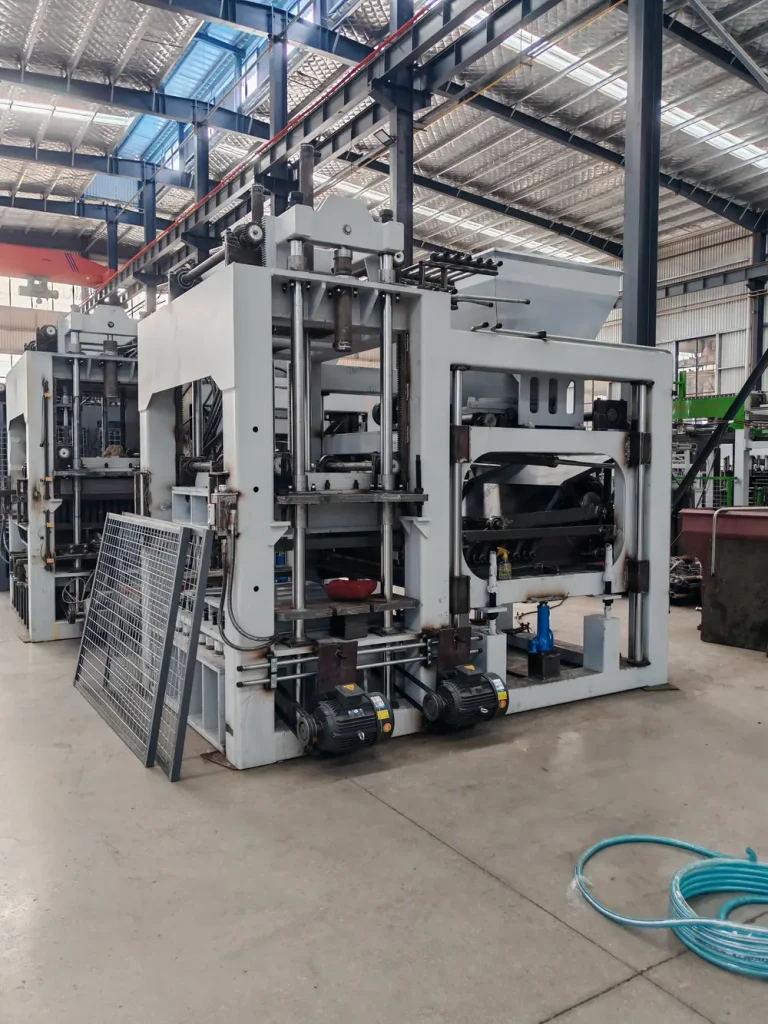
Maximizing Equipment Lifespan and ROI
A commercial cement block machine represents a substantial capital investment. Implementing rigorous preventative maintenance directly protects your bottom line:
- Protects Heavy-Duty Structures: Reduces metal fatigue on the main machine frame, guide pillars, and mold lifting mechanisms.
- Extends Core Subsystem Durability: Prevents premature failure of high-pressure hydraulic cylinders, proportional valves, and synchronized vibration tables.
- Lowers Total Cost of Ownership (TCO): Proactive servicing significantly delays the need for major overhauls or early equipment replacement, maximizing overall return on investment.
Preventing Costly Downtime and Repairs
Unplanned line stoppages disrupt delivery schedules, waste mixed batches of concrete, and result in idle labor costs.
- Early Fault Detection: Routine monitoring catches minor issues—such as micro-leaks in hydraulic fittings or loose vibration bolts—before they escalate into catastrophic mechanical breakdowns.
- Predictable Production Cycles: Scheduled maintenance allows plant managers to plan component replacements during off-shifts rather than suffering emergency shutdowns during peak production hours.
- Lower Repair Expenses: Replacing wear plates, seals, and filters on schedule is significantly cheaper than rebuilding damaged hydraulic pumps or replacing cracked mold frames.
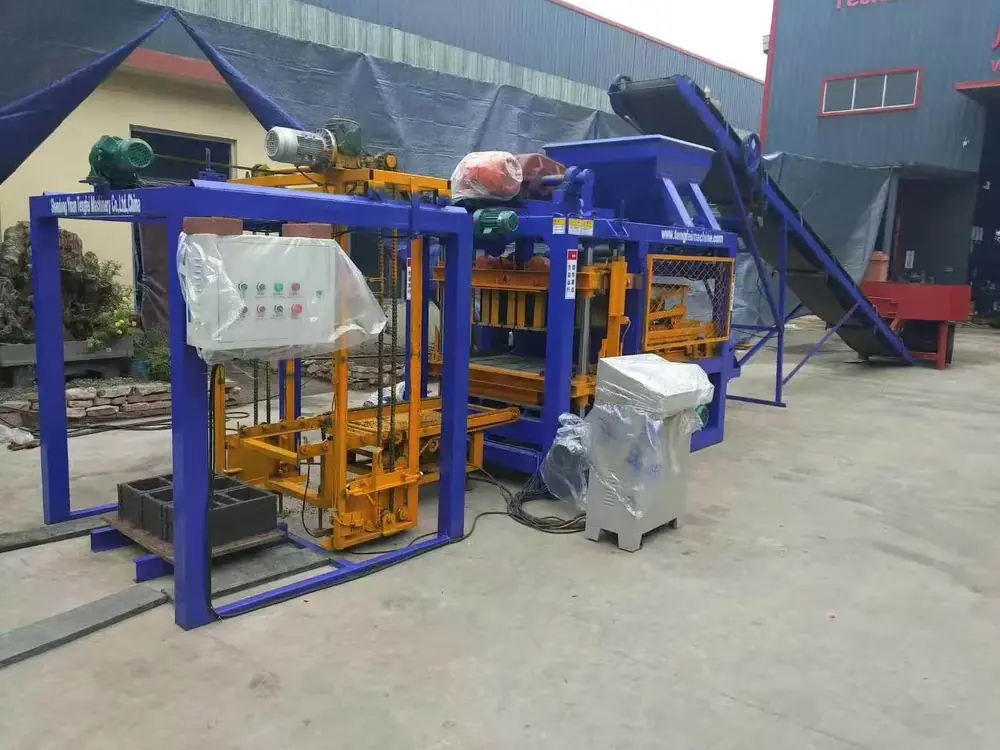
Ensuring Consistent Concrete Block Quality
The mechanical condition of your production equipment directly dictates the physical integrity of every block, paver, or curbstone produced.
- Dimensional Precision: Well-maintained molds and calibrated guide pillars prevent uneven compaction and dimensional variance.
- Optimized Compressive Strength: Clean, synchronized twin-shaft vibrators and steady hydraulic pressure ensure uniform concrete density and maximum load-bearing capacity.
- Flawless Surface Finish: Eliminating concrete buildup and mechanical misalignment prevents edge chipping, micro-cracks, and surface blemishes across every finished batch.
Core Mechanical Maintenance Tips
Heavy-duty mechanics form the backbone of your production line. Keeping these core mechanical components in prime condition directly protects your cement block machine from premature wear and structural fatigue.
1. Implement Routine Cleaning and Debris Removal
Never allow wet or semi-dry concrete to sit on moving parts overnight. A strict daily cleaning routine prevents concrete buildup, abrasive friction, and mechanical blockages.
- Feeder Drawer and Hopper: Scrape out residual concrete slurry after every production shift.
- Vibration Table and Frame: Clear away loose aggregate and hardened fines to maintain clean contact surfaces.
- Guide Rails and Pillars: Wipe down linear guide shafts to prevent cement dust from scoring hardened steel surfaces.
2. Maintain a Rigorous Lubrication Schedule
Consistent lubrication management reduces friction, dissipates heat, and shields heavy-duty components from abrasive cement dust.
- Linear Guide Pillars and Bushings: Apply high-grade industrial grease daily to ensure smooth mold-lifting cycles.
- Synchronizer Shafts and Linkages: Grease all pivot points and mechanical arms weekly to prevent uneven mechanical drag.
- Vibration Motor Bearings: Use specified high-temperature, extreme-pressure grease according to scheduled operational hours.
3. Inspect and Tighten Bolts and Fasteners Regularly
The intense dynamic force generated during block molding naturally loosens threaded fasteners over time. Perform routine torque audits to keep your structural frame rigid.
- Inspect and re-torque mold clamping bolts and tamper head fasteners daily.
- Check vibration table anchor bolts and motor mounting plates weekly.
- Addressing loose fasteners promptly prevents severe cement block machine problems that cause structural frame cracking and uneven block density.
4. Monitor and Calibrate the Vibration System
Our high-frequency core vibration system delivers the compaction needed for high-strength concrete products. Keeping it synchronized ensures uniform product density across every cycle.
- Belt Tension: Check motor drive belts regularly to prevent slippage and power loss.
- Shaft Synchronization: Verify that twin-shaft eccentric vibrators operate in precise phase alignment to maintain purely vertical vibration.
- Shock Absorber Pads: Inspect heavy-duty rubber dampers for signs of hardening, cracking, or uneven compression.
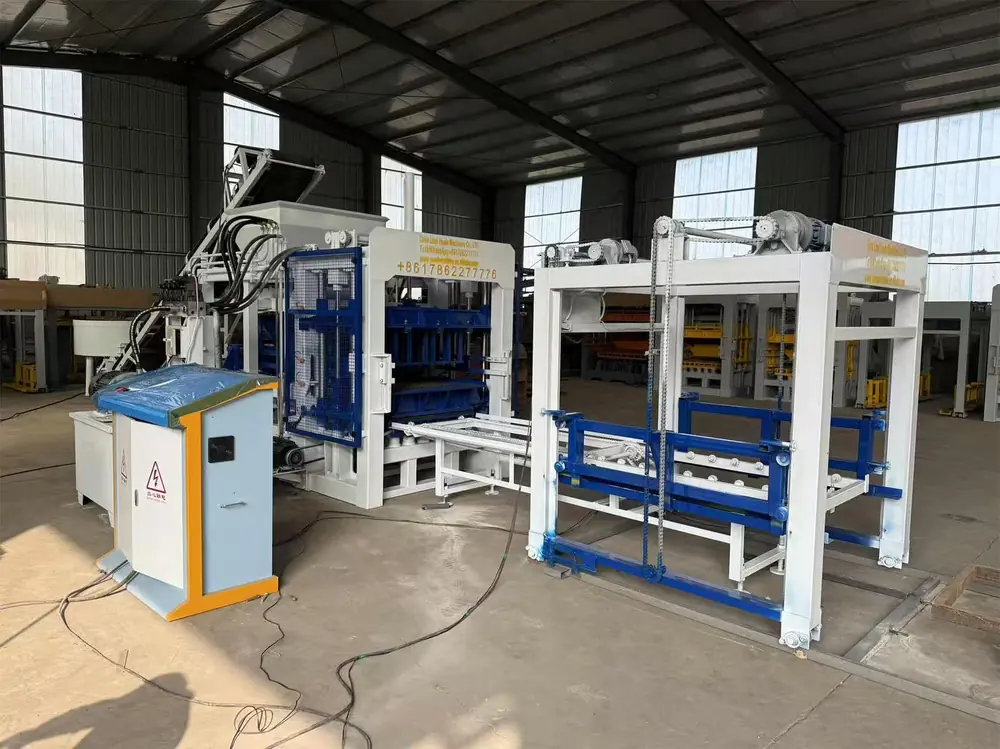
Hydraulic and Electrical System Maintenance Tips
Maintaining the hydraulic and electrical units of your cement block machine protects its compaction power, cycle speed, and automated accuracy.
5. Check and Replace Hydraulic Oil and Filters
Hydraulic fluid is the lifeblood of your molding system. Contaminated or degraded oil directly reduces compaction pressure, leading to low-density blocks and accelerated valve wear.
- Check Fluid Levels Daily: Inspect the oil sight glass before starting any shift. Low fluid levels cause pump cavitation and rapid overheating.
- Monitor Oil Temperature: Ensure your cooling system keeps the operating temperature stable. Excess heat thins the oil and breaks down lubricity.
- Replace Filters on Schedule: Clean or replace suction and return-line filters every 500 to 1,000 operating hours to stop metal particulates from cycling through proportional valves.
- Flush and Refill: Drain and replace hydraulic fluid whenever you detect discoloration, foaming, or a burnt odor.
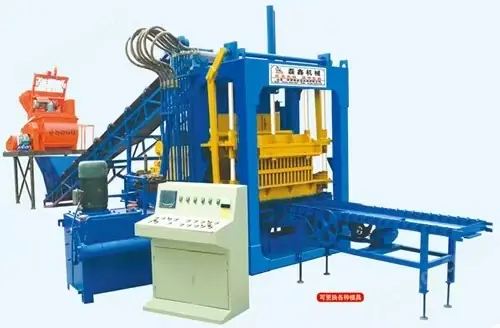
6. Inspect Hydraulic Hoses, Seals, and Valves for Leaks
High-pressure molding cycles place constant stress on hoses, fittings, and cylinder seals. Addressing minor leaks immediately prevents sudden pressure loss and costly hydraulic fluid waste.
- Inspect Hoses for Wear: Check for surface cracks, bulging, or friction wear where hoses rub against the machine frame.
- Tighten Loose Fittings: Vibration can loosen hydraulic connections over time. Check high-pressure fittings during weekly maintenance.
- Replace Worn Cylinder Seals: If you notice fluid weeping along the main cylinder rods or a slow drop in clamping pressure, replace the internal seals immediately.
- Check Proportional Valves: Ensure directional and pressure valves are free from exterior dust and debris to prevent spool sticking. Investing in a properly configured concrete block machine with robust hydraulic cooling and quality valves makes ongoing maintenance significantly easier.
7. Calibrate Electrical Controls and PLC Systems
The electrical control cabinet and PLC system coordinate the entire feeding, vibration, and demolding sequence. Cement dust and plant vibration are the primary threats to electrical reliability.
- De-Dust the PLC Cabinet: Clean the interior of the main control cabinet using low-pressure dry air. Cement dust accumulation causes short circuits and traps heat around sensitive circuit boards.
- Check Wiring Terminals: Inspect terminal strips and contactor screws monthly. Heavy vibration can loosen electrical connections, leading to intermittent signal faults or component failure.
- Clean Proximity and Optical Sensors: Wipe down all limit switches, proximity sensors, and photo eyes daily. Dust buildup on sensor heads leads to false cycle triggers and misaligned mold positioning.
- Verify Touch-Screen Calibration: Test HMI touch responsiveness and check the system’s fault-log history to address recurring operational warnings before they stop production. Setting up reliable control systems is standard practice across modern hollow block making machine setups to ensure smooth, uninterrupted automation.
Mold Care and Wear Parts Replacement Tips
Molds and wear parts endure intense friction, high-tonnage hydraulic compression, and core table vibration during every production cycle. Protecting these tooling elements directly preserves the finished dimensional accuracy of your pavers, hollow blocks, and solid bricks while preventing premature frame fatigue.
8. Clean, Align, and Protect Block Machine Molds
Consistent tooling upkeep ensures precise block geometry and prevents expensive mechanical binding:
- Post-Shift Residual Stripping: Wash and scrape cured concrete from the mold cavities, tamper heads, and core assemblies immediately after production stops. Hardened buildup creates uneven pressure distribution during the next cycle.
- Tamper Head Clearance Audits: Measure the gap between the tamper shoes and cavity walls regularly. Proper alignment prevents metal-on-metal scraping and avoids chipping the mold frame edges during compaction.
- Corrosion Prevention: When swapping molds or storing them between production runs, coat the cavities and core pins with an anti-rust protective oil to eliminate atmospheric oxidation and surface pitting.
9. Monitor and Timely Replace High-Wear Components
Continuous heavy-duty operation will inevitably wear down contact surfaces. Routine inspection schedules help you catch wear before it impacts structural components:
| High-Wear Component | Key Inspection Area | Recommended Action |
|---|---|---|
| Mold Wear Plates | Surface thickness and gouge marks | Replace when cavity wall tolerance exceeds operational limits. |
| Guide Pillars & Bushings | Radial play and scoring on shafts | Clean, grease, and replace bushings if lateral play occurs. |
| Feeder Drawer Scrapers | Blade edge flatness and wear level | Adjust scraper height or replace worn blades to ensure clean pallet feeding. |
| Vibrator Bearings | Operating temperature and sound profile | Regrease on schedule; change bearings at the first sign of overheating. |
10. Use Genuine OEM Spare Parts for Reliability
Substandard, third-party replacement parts often lack the precise metallurgy and heat treatment required for demanding production lines. Whether running a standard hydraulic unit or a high-capacity automatic block making machine, always use genuine, factory-machined components:
- Heat-Treated Mold Tooling: Genuine molds utilize specialized carburized steel and hardened wear plates engineered to withstand high-frequency vibration without micro-cracking.
- Exact Dimensional Tolerances: OEM guide sleeves, hydraulic seals, and feeder components match factory tolerances, eliminating irregular vibration transfer and premature mechanical wear.
- Long-Term Operational Savings: Authentic components fit seamlessly into your existing assembly, minimizing maintenance adjustments, reducing unplanned downtime, and maximizing return on investment.
Operational Best Practices to Extend Machine Life
Maintaining high equipment uptime requires combining mechanical upkeep with disciplined operating habits on the factory floor. The way your team handles daily cycles directly impacts component wear and overall machine longevity.
Train Operators on Standard Operating Procedures
Well-trained operators are your first line of defense against premature machine failure. We ensure all operating teams understand standard parameters before running production cycles.
- Control Panel Operation: Run the PLC touch-screen interface within rated pressure and cycle-time parameters without bypassing system interlocks.
- Cycle Monitoring: Train operators to visually inspect the feed drawer stroke, mold guide pillars, and pallet feeder movement during every automated cycle.
- Immediate Fault Response: Instruct personnel to stop the machine immediately when unusual alarms, hydraulic pressure drops, or abnormal vibration sounds occur.
Optimize Raw Material Quality and Mix Ratios
Inconsistent aggregate grading accelerates abrasive wear on mold boxes, tamper heads, and feed drawers. Enforcing strict raw material standards protects key mechanical assemblies.
- Aggregate Sieve Control: Screen sand, gravel, and crushed stone to eliminate oversized rocks and foreign metal debris that jam feeding mechanisms.
- Moisture and Mix Consistency: Maintain exact water-to-cement ratios. Overly wet mixes cause concrete adhesion on mold walls, while excessively dry mixes cause severe frictional wear on tamper heads.
- Formula Adherence: Review our cement brick making machine raw materials guide to balance mix designs that deliver high block density while minimizing abrasive mold wear.
Follow Proper Machine Storage and Shutdown Guidelines
End-of-shift protocols prevent concrete hardening inside critical moving assemblies and protect hydraulic and electrical systems during downtime.
- Empty the Delivery System: Discharge all concrete slurry from the hopper, feeder box, and mixing system before shutting down.
- Hydraulic System Depressurization: Lower the mold frame and tamper head onto resting blocks, then release hydraulic line pressure to relieve stress on seals and valves.
- Electrical Isolation: Power down the main breaker, lock the electrical control cabinet to keep out airborne cement dust, and apply anti-corrosion protection to exposed guide pillars during extended shutdowns.
Recommended Maintenance Schedule for Block Making Machines
A structured preventative maintenance timeline protects your investment and ensures your cement block machine consistently runs at peak throughput. Sticking to a clear inspection schedule eliminates guesswork for your plant operators and keeps unexpected downtime to an absolute minimum.
Daily and Shift-End Maintenance Checklist
Executing a daily cleaning routine and basic operational check at the close of every production shift preserves machine tolerances and prevents material buildup:
- Residual Concrete Washdown: Scrape and wash down the material hopper, feed drawer, mold frame, and vibration table to eliminate concrete crust before it hardens.
- Guide Pillar Lubrication: Wipe down and apply a clean layer of heavy-duty industrial grease to all linear guide pillars and sliding bushings.
- Hydraulic Fluid Check: Verify that the hydraulic oil reservoir level sits within the normal operating range and confirm operating temperatures remain within standard limits.
- Sensor and Safety Verification: Inspect optical sensors, limit switches, and emergency stop switches to ensure they are free of aggregate dust and responding properly.
Weekly Mechanical and Electrical Inspections
Weekly maintenance targets structural rigidity, lubrication management, and electrical system reliability to counter the effects of continuous heavy vibration:
- Fastener Torque Audit: Check and tighten bolts across the vibration table base, mold clamping assemblies, and hydraulic pump mountings.
- Hydraulic Line and Seal Review: Inspect all high-pressure flexible hoses, directional valve blocks, and cylinder seals for micro-cracks, wear spots, or minor fluid weeping.
- PLC Cabinet De-Dusting: Open the primary electrical enclosure, blow out fine cement dust with dry compressed air, and verify that all terminal blocks and wire connections remain firmly seated.
- Drive and Bearing Greasing: Lubricate sync shaft bearings, vibration motor bearings, pallet feeder tracks, and conveyor rollers.
Sourcing heavy-duty equipment through a certified block machine distributor for automatic block machines makes it easier to standardize these inspection routines with model-specific service manuals and factory-backed support.
Monthly and Periodic Overhaul Routines
Monthly and quarterly maintenance schedules ensure deep-level component protection and maintain high dimensional accuracy across all produced blocks:
| System Component | Monthly / Periodic Action Item | Service Target |
|---|---|---|
| Hydraulic System | Inspect oil clarity; clean or replace suction and return-line filter elements. | Replace filters every 500–1,000 run hours to protect proportional valves. |
| Molds & Wear Liners | Measure tamper head clearances and cavity wall thickness. | Replace worn wear plates before mold tolerance deviations exceed 1.5 mm. |
| Vibration Mechanism | Test motor phase synchronization and belt tension. | Re-align twin-shaft eccentric weights to maintain balanced vertical compaction. |
| Conveyors & Stackers | Check track horizontal alignment and chain tension on block transfer lines. | Re-align deformed rails to eliminate pallet jamming and mechanical strain. |
Warning Signs Your Cement Block Machine Needs Immediate Repair
Even with regular maintenance, continuous heavy-duty production takes a toll on concrete manufacturing equipment. Spotting minor mechanical faults early prevents catastrophic plant breakdowns, protects product quality, and preserves your investment.
Unusual Vibrations and Mechanical Noise
A sudden change in machine acoustics or vibration patterns is often the first indicator of mechanical distress. If you notice irregular sounds during compaction, stop the cycle and check the following:
- Grinding or squealing noises: Indicates dry or failing bearings inside the synchronized vibration table or main electric motors.
- Irregular or rhythmic thumping: Signals worn drive belts, loose eccentric counterweights, or a misaligned twin-shaft vibration synchronizer.
- Excessive frame shaking: Points to loose foundation anchor bolts, worn vibration isolators, or compromised guide pillar bushings.
Hydraulic Pressure Drops and Fluid Leaks
The hydraulic system drives mold clamping, material feeding, and block compaction. Pressure issues directly slow down cycle times and lead to substandard compaction density.
- Slow cylinder actuation: If the tamper head or feeding drawer moves sluggishly, inspect the hydraulic oil levels, proportional directional valves, and suction filters for clogging.
- Visible fluid weeping: Check high-pressure hoses, manifold blocks, and cylinder seals for micro-cracks, loose fittings, or seal deterioration.
- Excessive oil operating temperature: Overheated fluid indicates an overworking pump, valve bypass leakage, or a malfunctioning hydraulic cooling system.
Inconsistent Block Dimensions and Surface Defects
Your finished concrete products reflect the mechanical health of the forming line. When output quality deviates from standard specifications, mechanical wear is almost always the cause.
- Tapered or uneven block heights: Caused by uneven guide pillar wear, miscalibrated hydraulic cylinders, or loose tamper head connections.
- Rough, chipped, or cracked edges: Indicates that mold cavities and wear plates have exceeded allowable tolerances. Knowing how to choose the right mold for your block making machine ensures you install properly hardened, heat-treated replacements before dimensional variations lead to rejected batches.
- Low density and weak compressive strength: Results from insufficient hydraulic pressure, aggregate bridging in the feed drawer, or out-of-phase vibration tables.